Hostess Cupcakes
This one's off the Caffe Macs email list. Super yummy and not processed. Credit to Sarah Pastry Chef, Caffe Macs. Cake: (Yield: 24-26 cupcakes) 1 lb All-purpose Flour 1 ½ cup Cocoa powder 1 ½ lb. Sugar 1 ½ tsp. Salt 1 Tbs. Baking Soda 1 ½ tsp Baking Powder 1 ½ cup Sour Cream 3 Eggs ¾ cup Vegetable oil 1 ½ cup Hot Water 1 Tbs. Vanilla Extract
Combine dry ingredients and mix. Combine sour cream, eggs, oil, hot water, and vanilla extract. Add to dry ingredients and mix until combined. Pour into paper lined cupcake tins. Bake at 350 degrees for 15-20 minutes or until a toothpick inserted into the middle of the cake comes out clean.
Chocolate Ganache:
125 grams Dark Chocolate, chopped 125 grams Heavy Cream 23 grams Unsalted butter, room temperature
Combine chocolate and butter in small bowl and set aside Heat cream in a saucepan until it boils. Immediately poor cream over chocolate butter mixture. Whisk until smooth. Allow mixture to cool slightly before using.
White icing 3 cups confectioners' sugar 1 cup butter 1 teaspoon vanilla extract 1 to 2 tablespoons whipping cream
Lambwiches
So you find yourself hungry and in the mood for something fancy, yet fast, and it's the weekend... And you happen to have chimmichurri and fresh greens lying around in the fridge, and maybe you went to the boulangerie earlier that day and happened to have bought a baguette or similar type of roll. Then at that moment, I suggest to you a lambwich!
For assembly, you need these items:
Baguette or roll Chimmichurri (preferably made in advance) Lamb (loin butterfly cut) Mixed greens
ChimiChurri! v2
2 to 10 cloves garlic, peeled, and chopped coarse1 or more red jalapeno, stemmed, seeded, chopped coarsely 1/4 cup fresh oregano leaves 1 cup fresh parsley leaves 1/4 cup red wine vinegar 1/2 cup olive oil 1/4 teaspoon salt
Combine garlic and jalapeno in food processor and pulse to mince finely. Add oregano and parsley; pulse to finely chop. Add remaining ingredients and process until smooth. Use immediately or refrigerate until ready to use.
ChimiChurri! v1
You can mince the ingredients by hand or use a food processor, which is faster and easier. There are many variations on this condiment, and it is served with everything from empanadas to grilled steak. 1/2 cup olive oil 2 tablespoons fresh lemon juice 1/3 cup minced fresh parsley 1 clove garlic 2 minced shallots 1 teaspoon minced basil, thyme or oregano (dry), or mixture 1 teaspoon dry red pepper flakes Salt and pepper to taste
Combine all ingredients and let set for at least 2 hours before serving.
Bakesale Betty's Chicken Sandwich aka The Unemplo' boy
There are chicken sandwiches, and then there are chicken sandwiches. If you're living in the bay area (and consider yourself a foodie or someone with a fine taste for cuisine) and have not yet had a chance to visit Bakesale Betty's, then consider yourself a poseur, with a capital “O”. I stumbled across BB while I was unemployed and a recent transplant from Los Angeles (Summer 2007). Rana and I found her little kiosk at the Oakland Farmer's Market (near the DMV in Temescal Triangle). We (Rana) were first suckered in by the smell of scones. We tasted a sample and were hooked! Probably one of the best scones we've had. Our favorite was the candied ginger scone. I'd have pictures to show you, but, we ate them so fast (and I was unemployed so I did not have a camera). Betty herself, told us that they also made delicious lunchtime foods, but that we'd have to visit the store location. We vowed to one-day check out the actual store front which was nearby.
So then a few weeks later after I was on a server restart break from saving the world of Azeroth, I decided to stretch my legs (from a 5hr session) and get something to eat. I IM'd Rana and asked her what I should do for lunch, and she reminded me about BB's. So that is where I decided to go for lunch, and give the blue-haired baker a whirl.
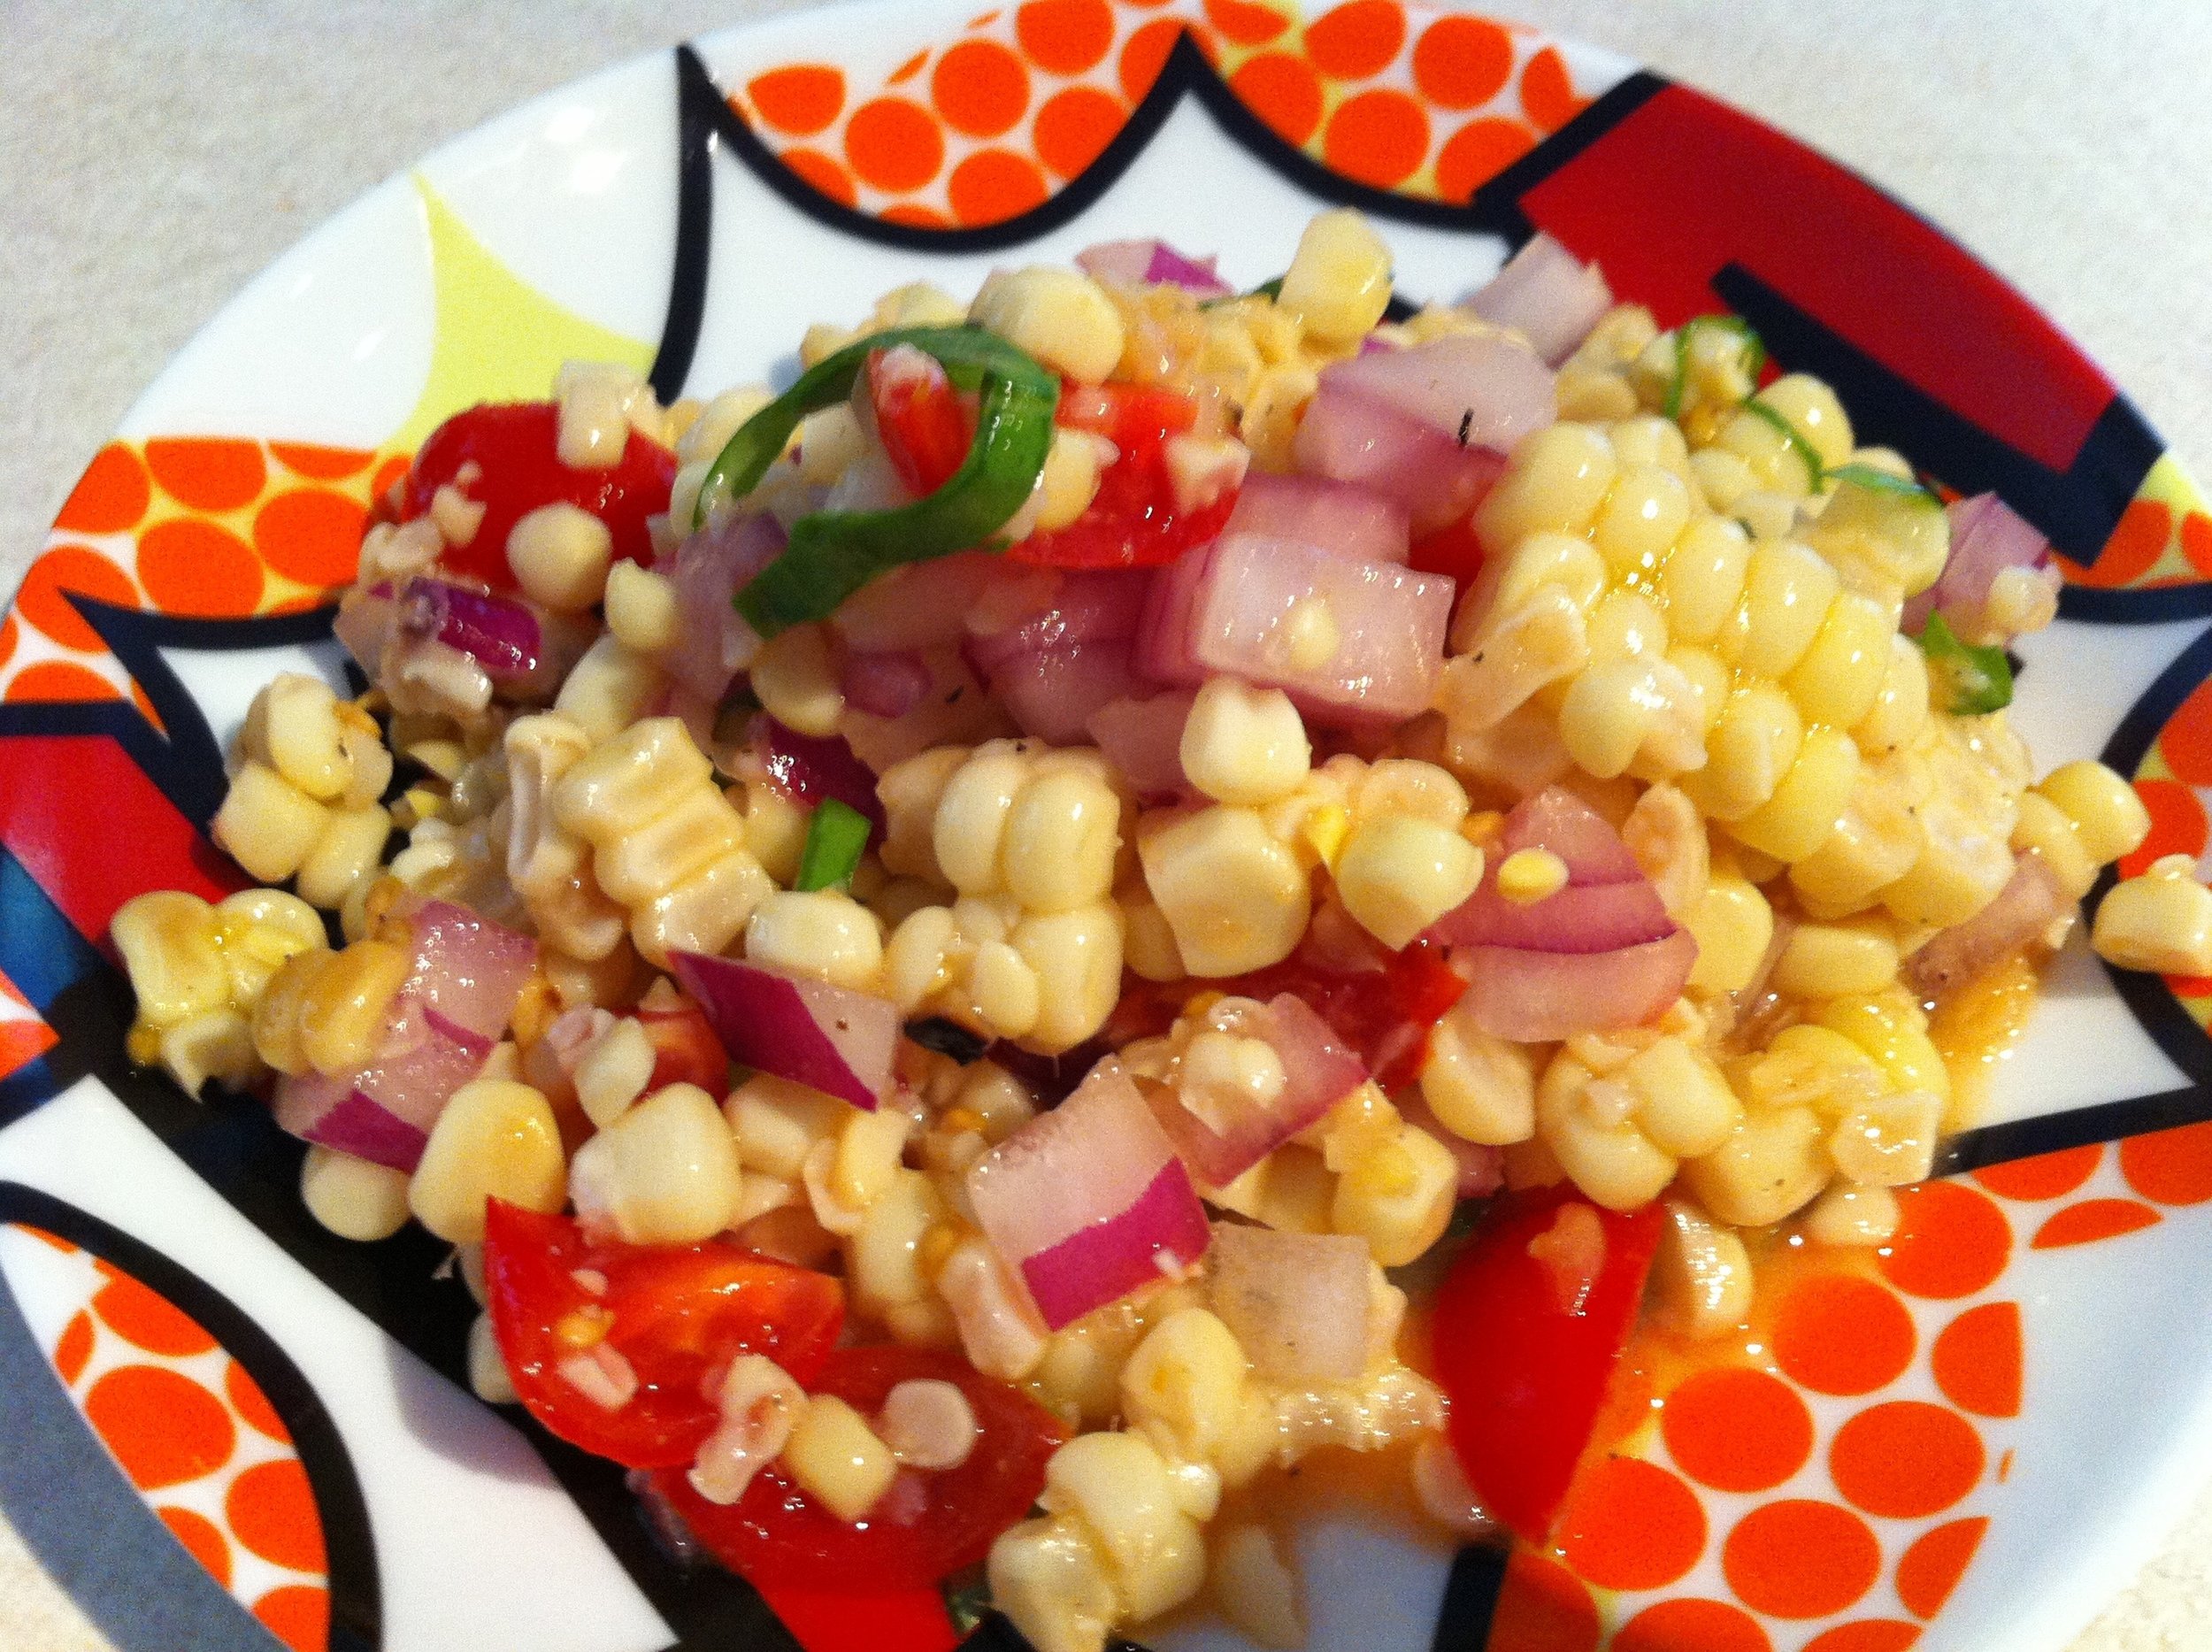
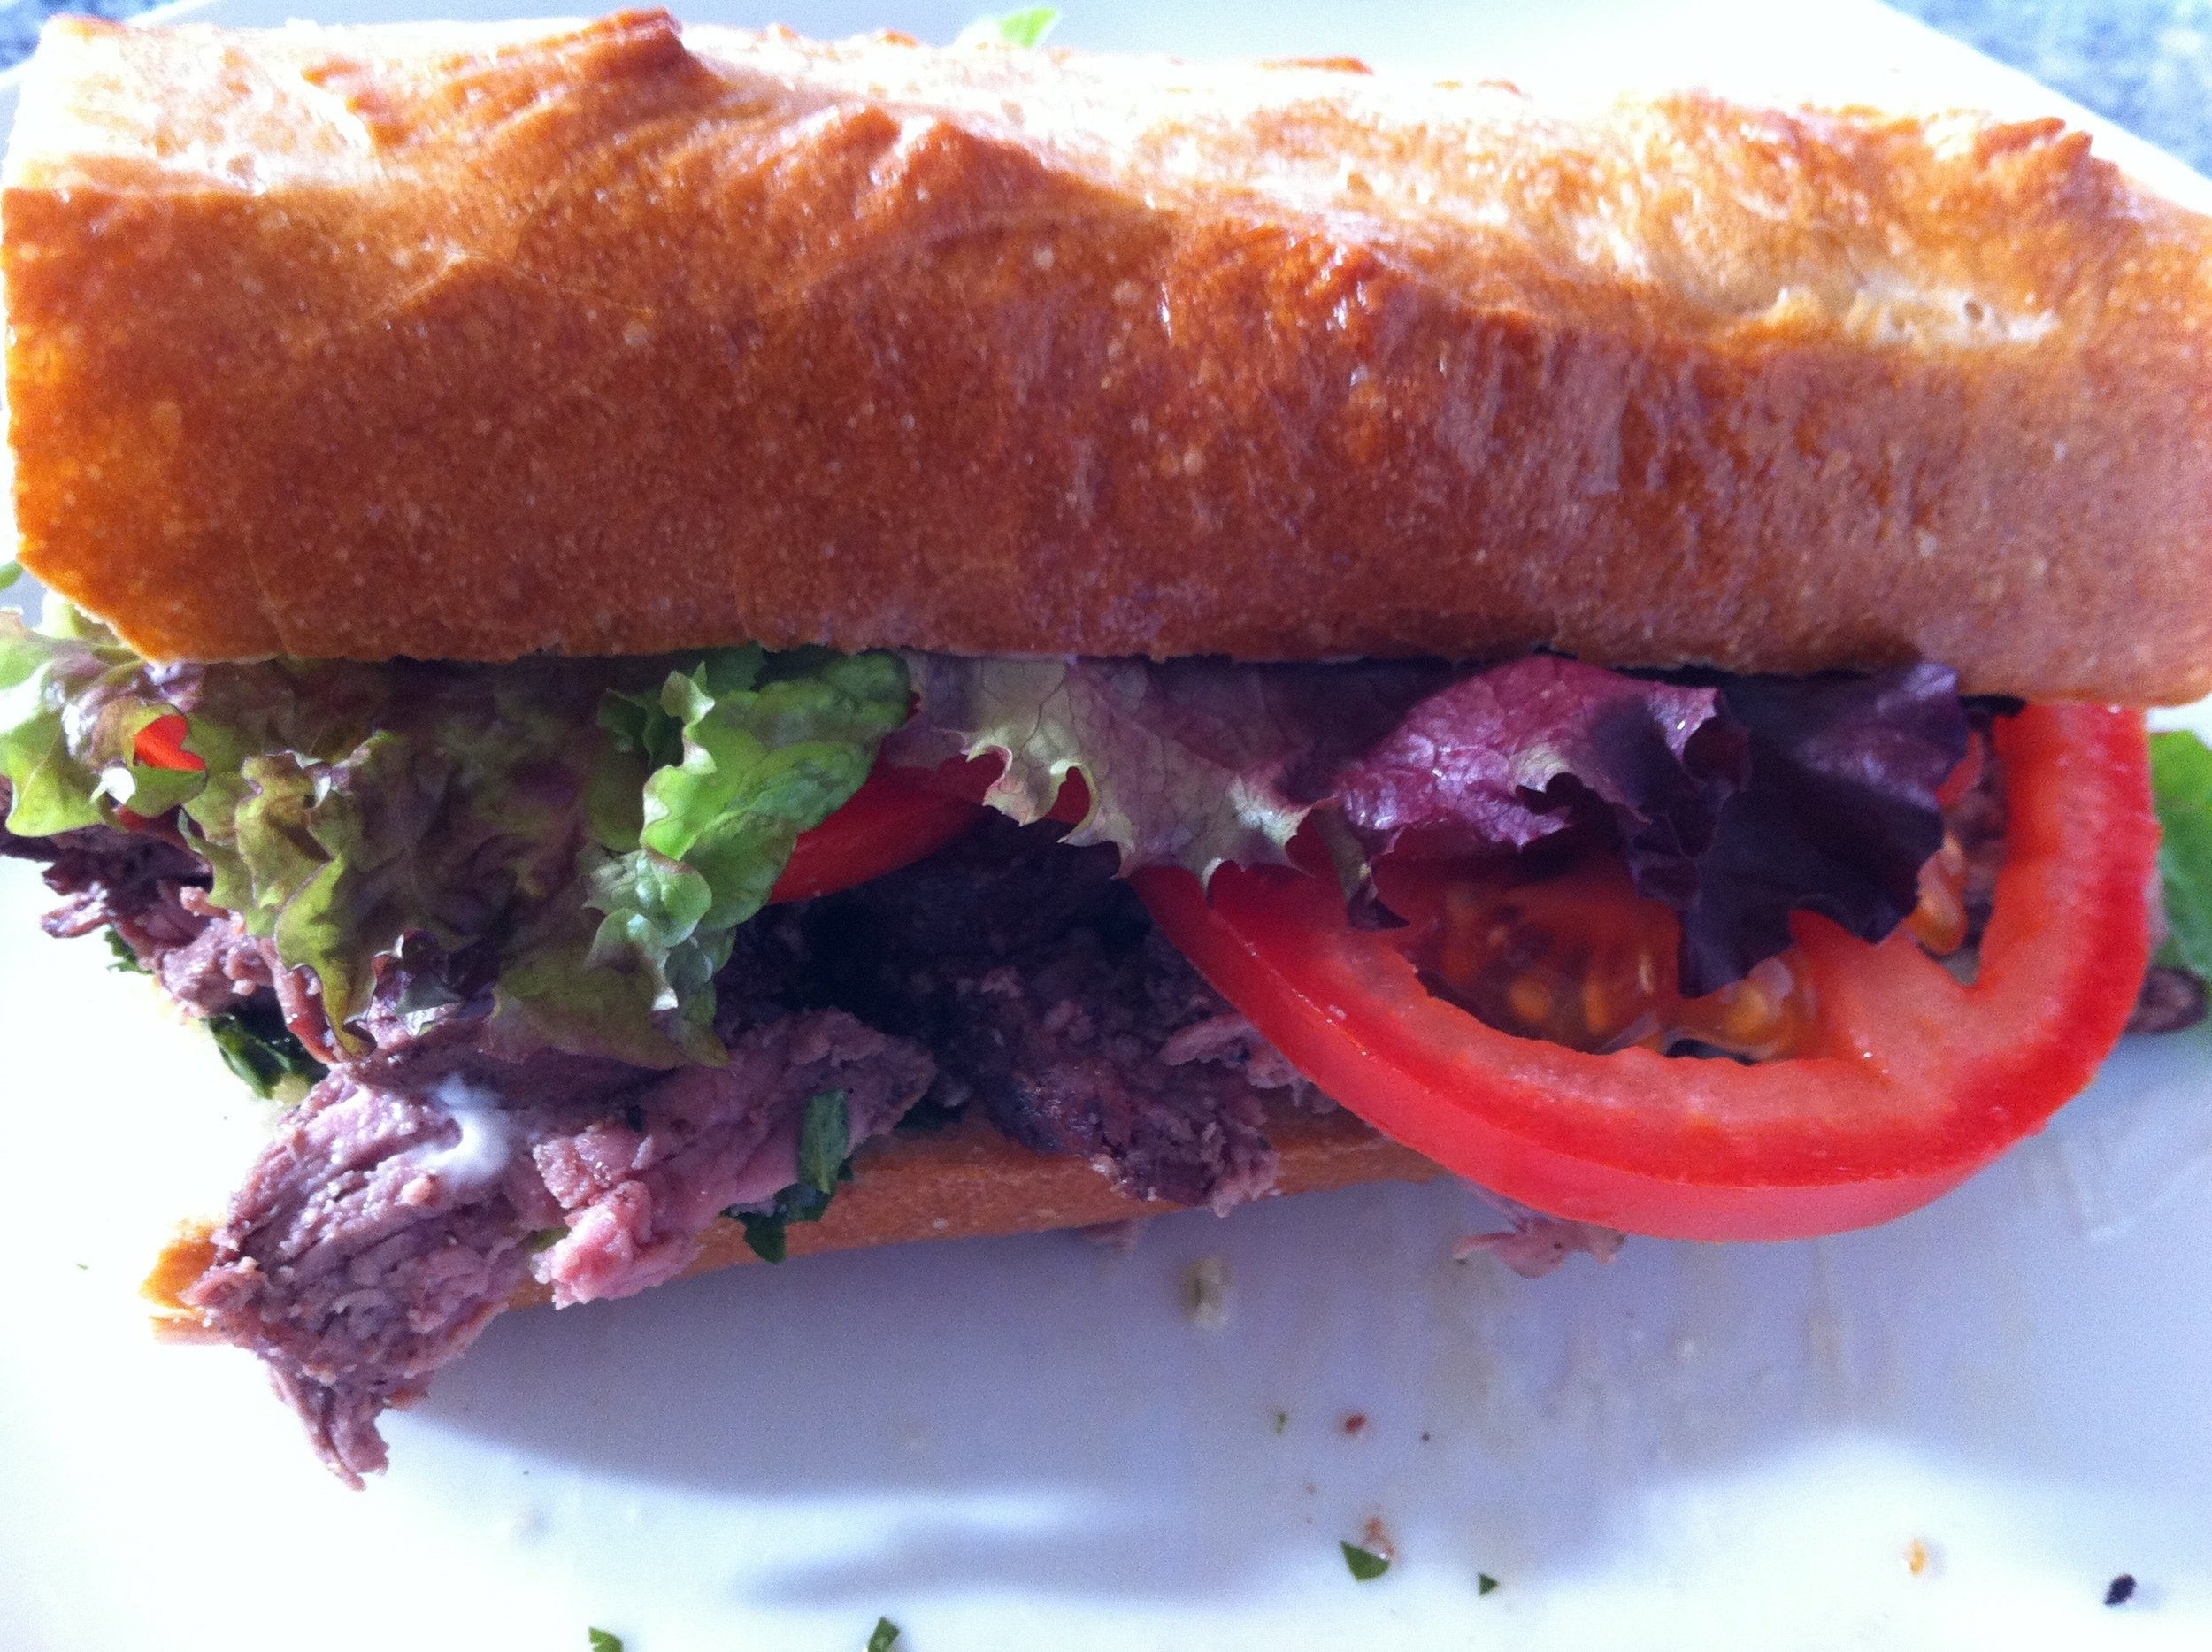
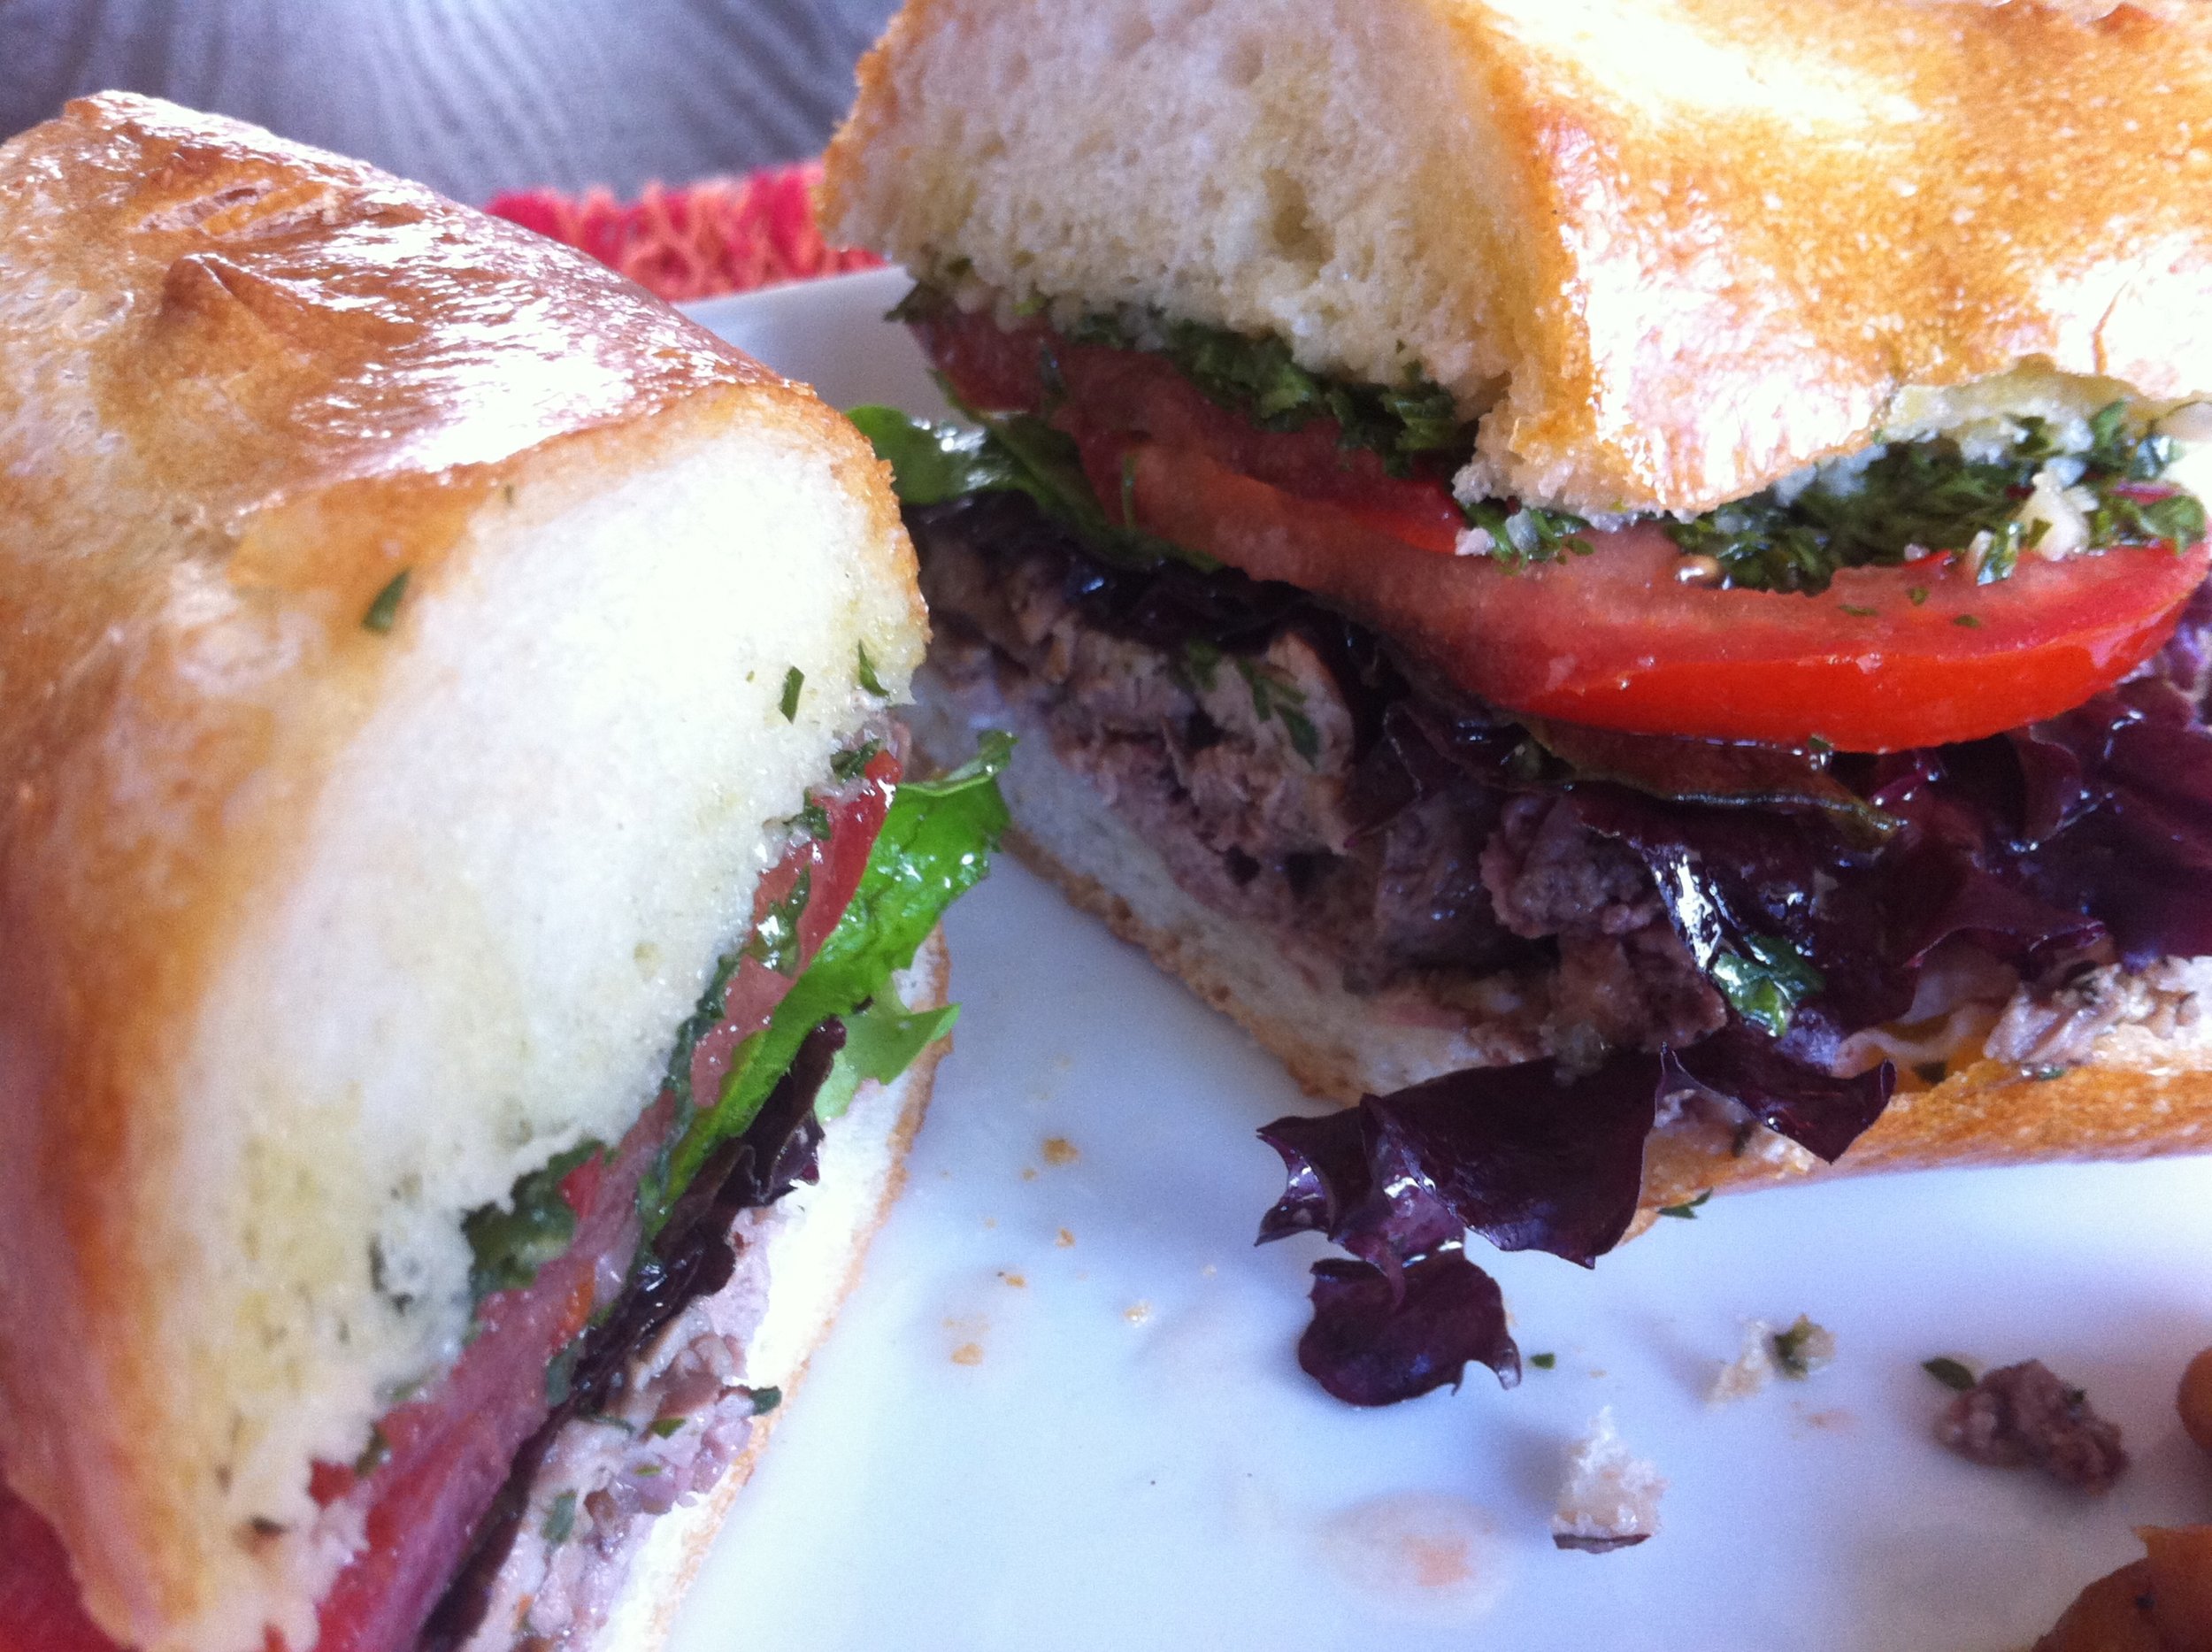
And yes that sandwich was good. Fast-forward 3years later. Now I find my self between jobs; technically “unemployed,” so I actually have the free time to check out BB's again for lunch. This is why I've now called this sandwich the “Unemplo' Boy,” due to the fact that I can only seem to get it while I have no job. And judging by the line of people that starts queuing up before 1130AM, I think everyone else is unemployed too! It also seems to be a second enclave for the hipster youth from across the pond, as the line wraps around the block! Anywho, I called my order in, so that I could run in and run out, and I am glad I did. The pictures in this post are from today's lunch fun! Oh I also stumbled across her actual recipe for the sandwich, should you want to synthesize it for yourself. Enjoy!
Here's the recipe: (this is a repost, thanks to SF GATE)
Serves 4
You'll have some breading left over, even after dipping twice. This makes a hefty sandwich in all regards - you'll need two hands to eat it.
INGREDIENTS:
4 boneless skinless chicken breasts, about 6 ounces each Kosher salt to taste 1 quart buttermilk
The vinaigrette 1 tablespoon Dijon mustard 3 tablespoons red wine vinegar 1 teaspoon kosher salt 1/2 cup extra virgin olive oil
The coleslaw 1 small red onion, very thinly sliced 1 cup red wine vinegar 2 jalapenos, seeded, cut in half and sliced crosswise 1/4 cup chopped parsley 1/2 green cabbage, core and outer leaves removed, and very thinly sliced Kosher salt
The breading 1 pound all-purpose flour 1 tablespoon cayenne pepper 1 tablespoon kosher salt + more to taste 1 1/2 teaspoon freshly ground pepper 2 quarts vegetable oil, for frying 4 Acme Bakery torpedo rolls, sliced lengthwise
Instructions: Season chicken breasts with kosher salt. Let sit at least 5 minutes. Fill a wide, shallow nonreactive bowl or casserole dish with buttermilk. Add the chicken and soak in the refrigerator for 1 hour up to overnight.
For the vinaigrette: Combine mustard, vinegar and salt in a bowl. Slowly whisk in olive oil until well blended.
For the coleslaw: Macerate onions in red wine vinegar, and let sit at least 20 minutes. Remove onions and discard vinegar. Toss onions with jalapeno, parsley, cabbage and salt. Toss with vinaigrette until evenly coated.
To fry chicken: Pour vegetable oil into a large stockpot. Do not fill up more than halfway, or the oil could splatter. Bring oil up to 365°, using a digital thermometer/candy thermometer to monitor the heat. Prepare the the breading while waiting for oil to heat up.
In a wide shallow bowl, mix flour, cayenne, salt and pepper. Pull a chicken breast out of the buttermilk one by one, letting excess drip off, and dredge completely in flour. To create a thick crust, place in buttermilk and dredge in flour a second time. Do not drain or shake off excess buttermilk or flour during the breading process.
When the oil is at 365°, carefully place chicken pieces into oil one by one. Let it cook for a minute before disturbing chicken, then help it "swim" in the oil with tongs, until it is evenly cooked, about 5-7 minutes. Remove chicken from oil and drain on paper towels. Season immediately with salt.
For the sandwich: Place fried chicken breast on bottom of torpedo roll and top generously with coleslaw.
Per serving: 995 calories, 52 g protein, 63 g carbohydrate, 58 g fat (8 g saturated), 95 mg cholesterol, 1,497 mg sodium, 6 g fiber.
Canon 7D Micro Adjust
Ok, users! I searched the net for a while and this is what I found. Hopefully it helps you out if you have a camera with Micro Adjust capabilities and lenses that seem to be soft or not off-focus. This is a direct quote from a site, I plan to rewrite when I actually test out the process myself (credit to hollis_f @ talkphotography:
“Print out the test chart and stick it some something reasonably firm. Set the chart up so that it fills the viewfinder of the camera with your chosen lens. Try to ensure that the target is roughly parallel with the back of the camera.Set your lens to its widest aperture, put the camera on a tripod and aim it at the target.
Format the memory card and use the menu system to navigate to
7D - C.Fn III -5 on page 211 of the manual 50D - C.Fn III -7 on page 180
Choose 'Adjust by lens' and press 'Set' (the button in the middle of the big dial) then press the 'Info' button. The lens you're trying to calibrate should have its name displayed. Use the big dial to change the value on the scale to -20, press 'Set' and half-press the shutter to exit menu mode. Manually change the focus so that the target is out of focus, half-press the shutter to focus then take a shot.
Press 'Menu', 'Set', 'Info' and change the setting to -15 then press 'Set'. Repeat the process for -10, -5, 0, 5, 10, 15 and 20.
You should not have 9 pictures. Upload them to your computer and check, at 100% zoom, which is the clearest.
You may find that there's not too much difference between three consecutive shots - in which case the middle of the three should be close enough. If there's a big difference then you may want to take more shots at intermediate vales. Suppose 0 is poor, +5 is good and +10 is poor. Then the ideal is somewhere between 0 and +10. Take more shots at +3 and +10 - compare them with the +5 and you should have a good idea which is the best setting.
Some people will go further and test every possible value. I've never found it makes that much difference if I choose +5, +6 or +7.
Once you've decided on a value don't forget to go back to the camera and 'Set' that value. The camera will remember it for that lens (or lens + TC combination). Then you can move on to the next lens.
I hope that's all right. I haven't stepped through it to check. But it should give you a good idea.”
Here is the link to the sheet in question:ISO 12233 Test Chart